Noodle House Chronicles

Monday, February 9, 2009

Digital Imaging In-Class Work

These were some things created in-class.

Flower Duplication:

Original Photo:


My Version:

Web Design Assignments

These were screen shots of our in class web assignments and tutorials

Week 1: Canada Web Page


Week 2: In Class Tutorials


Week 3: CSS Stype Webpage

Labels:

Photography Assignments

For our photography assignment we were required to test the abilities of the camera's by using depth of focus and shutter speeds.

Depth of focus pictures:


Slow shutter speeds:


Fast shutter speeds:


Labels:

Storyboarding Illustrations

We were asked to create a character and draw him/ her in full rotational view.

This was my character who went by the name Johnny Two-Toes

Rotational View:


Expressing Emotions:


This assignment will go on further with full story boarding based on our stories we had written in story telling.

Labels:

2D inclass assignments

This post was to document what assignments we had covered in the first 3 weeks of 2d

Week 1:


Week 2:


Week 3:


Currently I am working on a jazz poster featuring Buddy Rich as the main artist. I will post my progress with this assignment soon

Labels:

Monday, January 19, 2009

Flash Symbols Assignment

Graphic Symbol

Graphic symbols are used for images that do not have any animations applied to them. When a graphic symbol is created it can be reused as many times as the user wishes on the main timeline . The graphic symbol moves in synch with the main timeline meaning that for every frame in the main movie that the symbol it will play once the frame its in passes in the video. This type of symbol doesn’t use any types of controls or sounds. These types of symbols make the project files smaller because they have no timeline. To create a graphic symbol you select the object you wish to create as a symbol on the main stage then right-click it and select the convert to symbol option. You will be prompted to which type of symbol you wish to make. Select graphic symbols. This can also be easily achieved by going to the modify window and selecting convert to symbol.

Button Symbol

The button symbol is used to create an item that will respond to a users clicking on it. The buttons can be used to perform different actions and are linked with different types of scripts. To create a button symbol you would right-click the object you wish to use as a button and select the convert to symbol option. When prompted select button. The alternative would be going through the modify window and then selecting convert to symbol

Movie Clip

Movie clip symbols are used to store an animation so that it can be reused over and over again. What makes a movie clip different from a graphic symbol is that a movie symbol has its own separate timeline that uses multiple frames . This type of symbol can have different types of interactive controls as well as sounds. It can be linked to a button symbol so that when a user clicks it the movie will play/pause/stop/ fast forward/rewind. To create a movie clip you select the object and can either go to the modify tab and select convert to symbol or right click the object and select convert to symbol. When prompted select movie clip.

Font Clip

Font symbols are used to be exported so that they can be used inside of another flash document. To create a font symbol you open your library window and right-click inside of it. Select the export option that allows you to export it as text. It will then appear in your library as a text symbol.

Labels:

Saturday, December 13, 2008

Business BOB toy

The second final project was designing a toy and box.

Mine was heavily influenced on Japanese vinyl art toys.

I started building from the ground up so first was his feet

Photobucket

once the feet were made I made the body using cardboard as the structure

Photobucket

I then covered the body with sculpy

Photobucket

Time to bake!

Photobucket

When it finished baking I used sandpaper to make it more smooth

Photobucket.

I then began to give him some clothes. I went with a suit jacket and tie.
I repeated the baking and sanding process to get a smooth feel.

Photobucket

I made a slightly smaller cube out of cardboard and covered it with sculpy. This picture was taken before another baking

Photobucket

Head and body slightly sanded

Photobucket

More sanding and a smoother look

Photobucket

another angle

Photobucket

toy painted

Photobucket

head on body

Photobucket

closer look

Photobucket

Final product

Photobucket


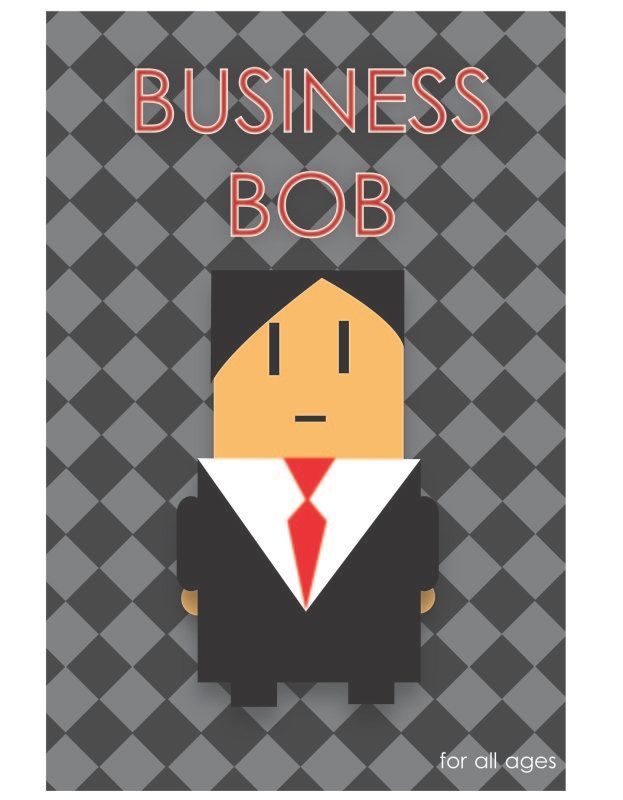
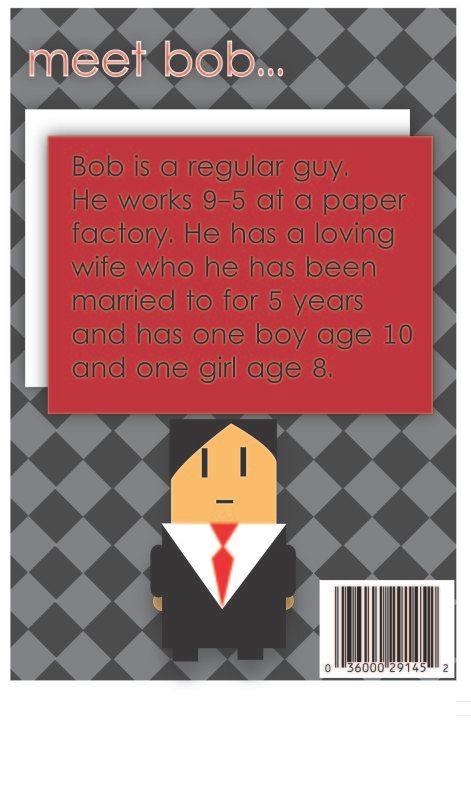
This was the box art for my toy

Photobucket

Photobucket

Labels: